Decorative Stitches for Stretch Fabrics
Posted by Jessica McCoy on
Hey Friends!
This is Jess from Mcmamamade. I’ve been loving Peony’s adorable new patterns for knit fabrics so I wanted to share a couple of my favorite decorative finishes for your new creations!

One of the most popular finishes for knit hems is to create a lettuce-edge. It works best on fabrics that are thinner and curl easily. You can achieve this look with most sergers and overlockers and today I’m going to share how I get this look on my regular sewing machine.

To get started, remove the seam allowance from the hem of your pattern pieces. You won’t be creating a folded hem so you don’t need that extra length.
Now you need to determine which way your fabric wants to curl toward. Give it a good stretch and look for the edge to curl over.
With the curl rolling facing up, place your fabric under the presser foot with your needle holding the curl in place.
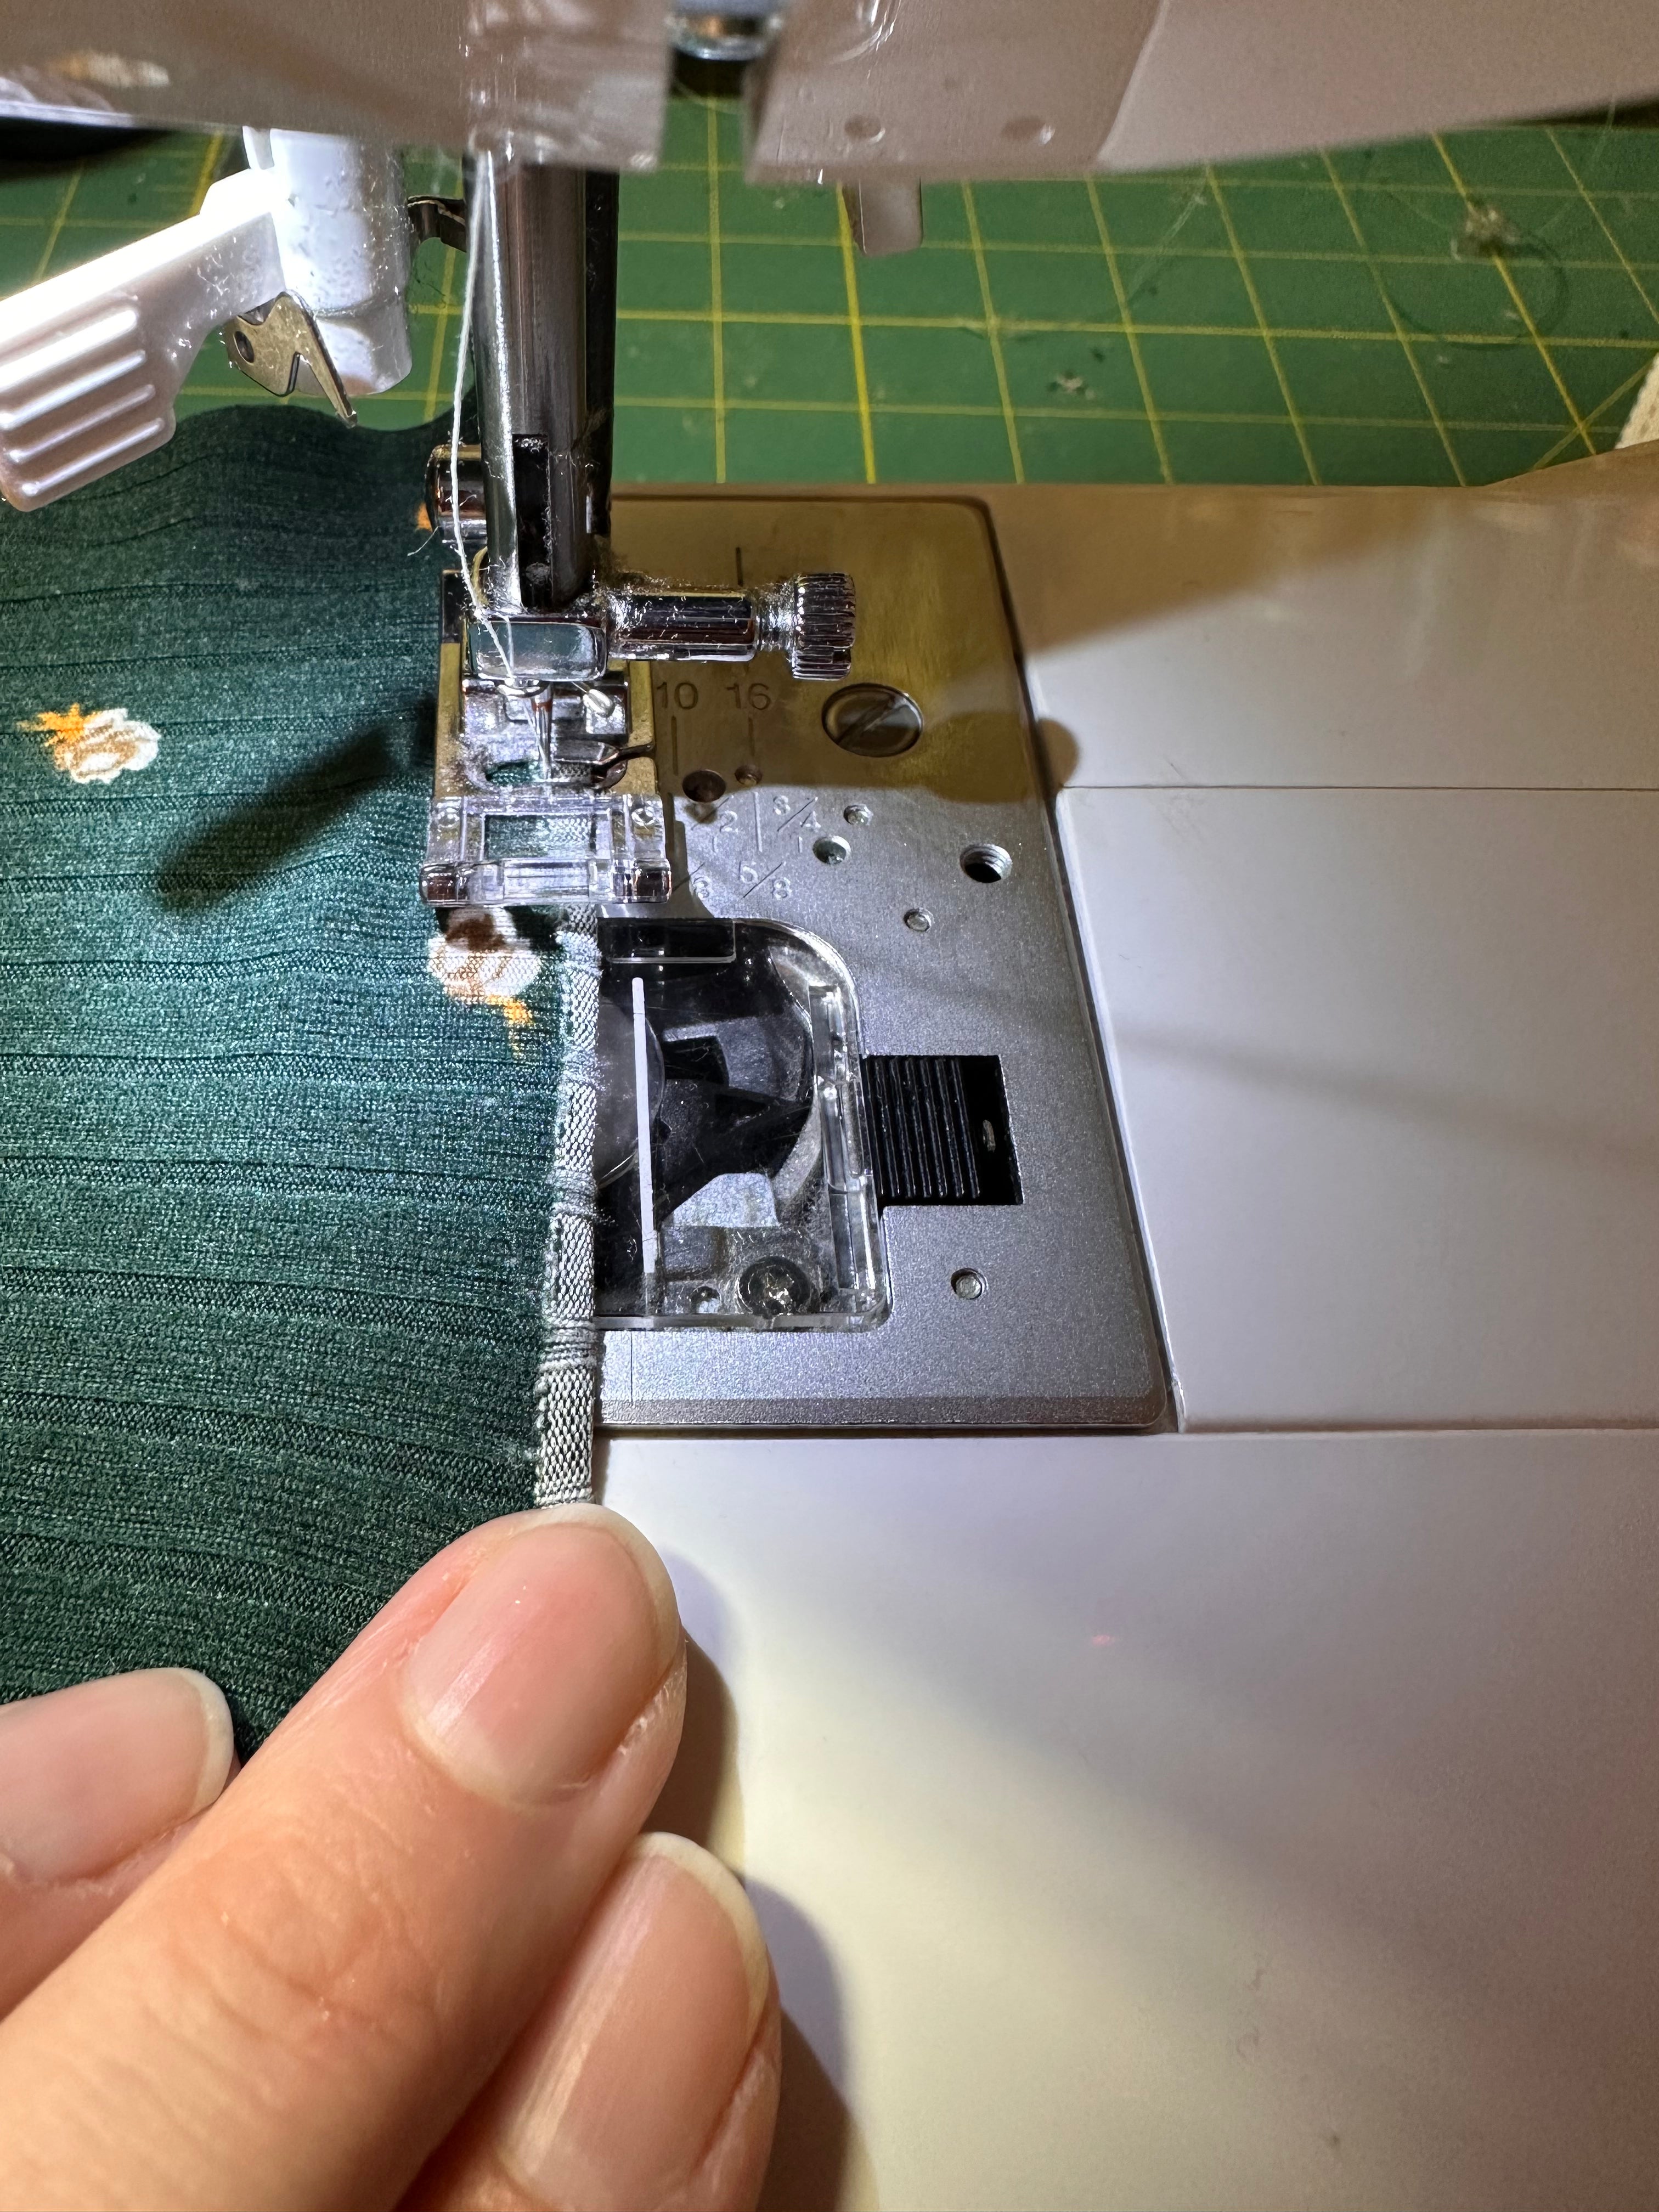
Next, set your machine settings to a zig zag stitch with a narrow width and short stitch length. It can also help to increase your thread tension depending on the type of fabric you’re working with.

As you sew, you’ll want to stretch the fabric in front and behind the presser foot to keep the curl rolling up. Keep even pressure on each side of the fabric as you sew, centering your stitches over the roll. The more you stretch, the curlier your hem will be! When you’re finished, give your hem a blast of steam with the iron and admire your hard work! Keep in mind if your fabric doesn’t have good four way stretch, this hem will vary in how curly it looks on pieces cut on a curve like circle skirts. For this Wattle dress I opted for a gathered skirt instead of a circle skirt to get as much curl as I could!

Another one of my favorite finishes for knit fabrics is the scalloped or shell hem. For my Ginger dress, I used this on the sleeve band piece and skirt hem but it also works great on anywhere you’re adding a binding, like a neckline.

First, set up your machine with the picot hem stitch. For a more pronounced scallop, increase your machine’s tension. Widen your stitch to between 5 and 6 and length to 3.

Every few stitches will drop off the right edge of the fabric creating a tuck to get this scallop look.

For my sleeve bands, I created the shell stitch hem on the bands before attaching them to the dress. For the skirt, I hemmed it as normal and added the shell stitch to the bottom. You could also fold your hem and sew it only using the shell stitch but you will want to trim the excess fabric on the wrong side after sewing.

Give your hems a blast of steam from the iron to help them lie flat and you’re all set!

Definitely take some time to practice these stitches with fabric scraps to get the exact look you want before starting on your project. It's amazing how a decorative stitch can totally change the look of a garment!
Happy sewing!
-Jess
Share this post
- Tags: decorative finishes, how to, knits, tips