Tips to Embroider on Knit Fabric
Posted by Jessica McCoy on
Hello again, fellow sewists! It’s Jess from @mcmamamade with some more tips to enhance your beautiful makes.
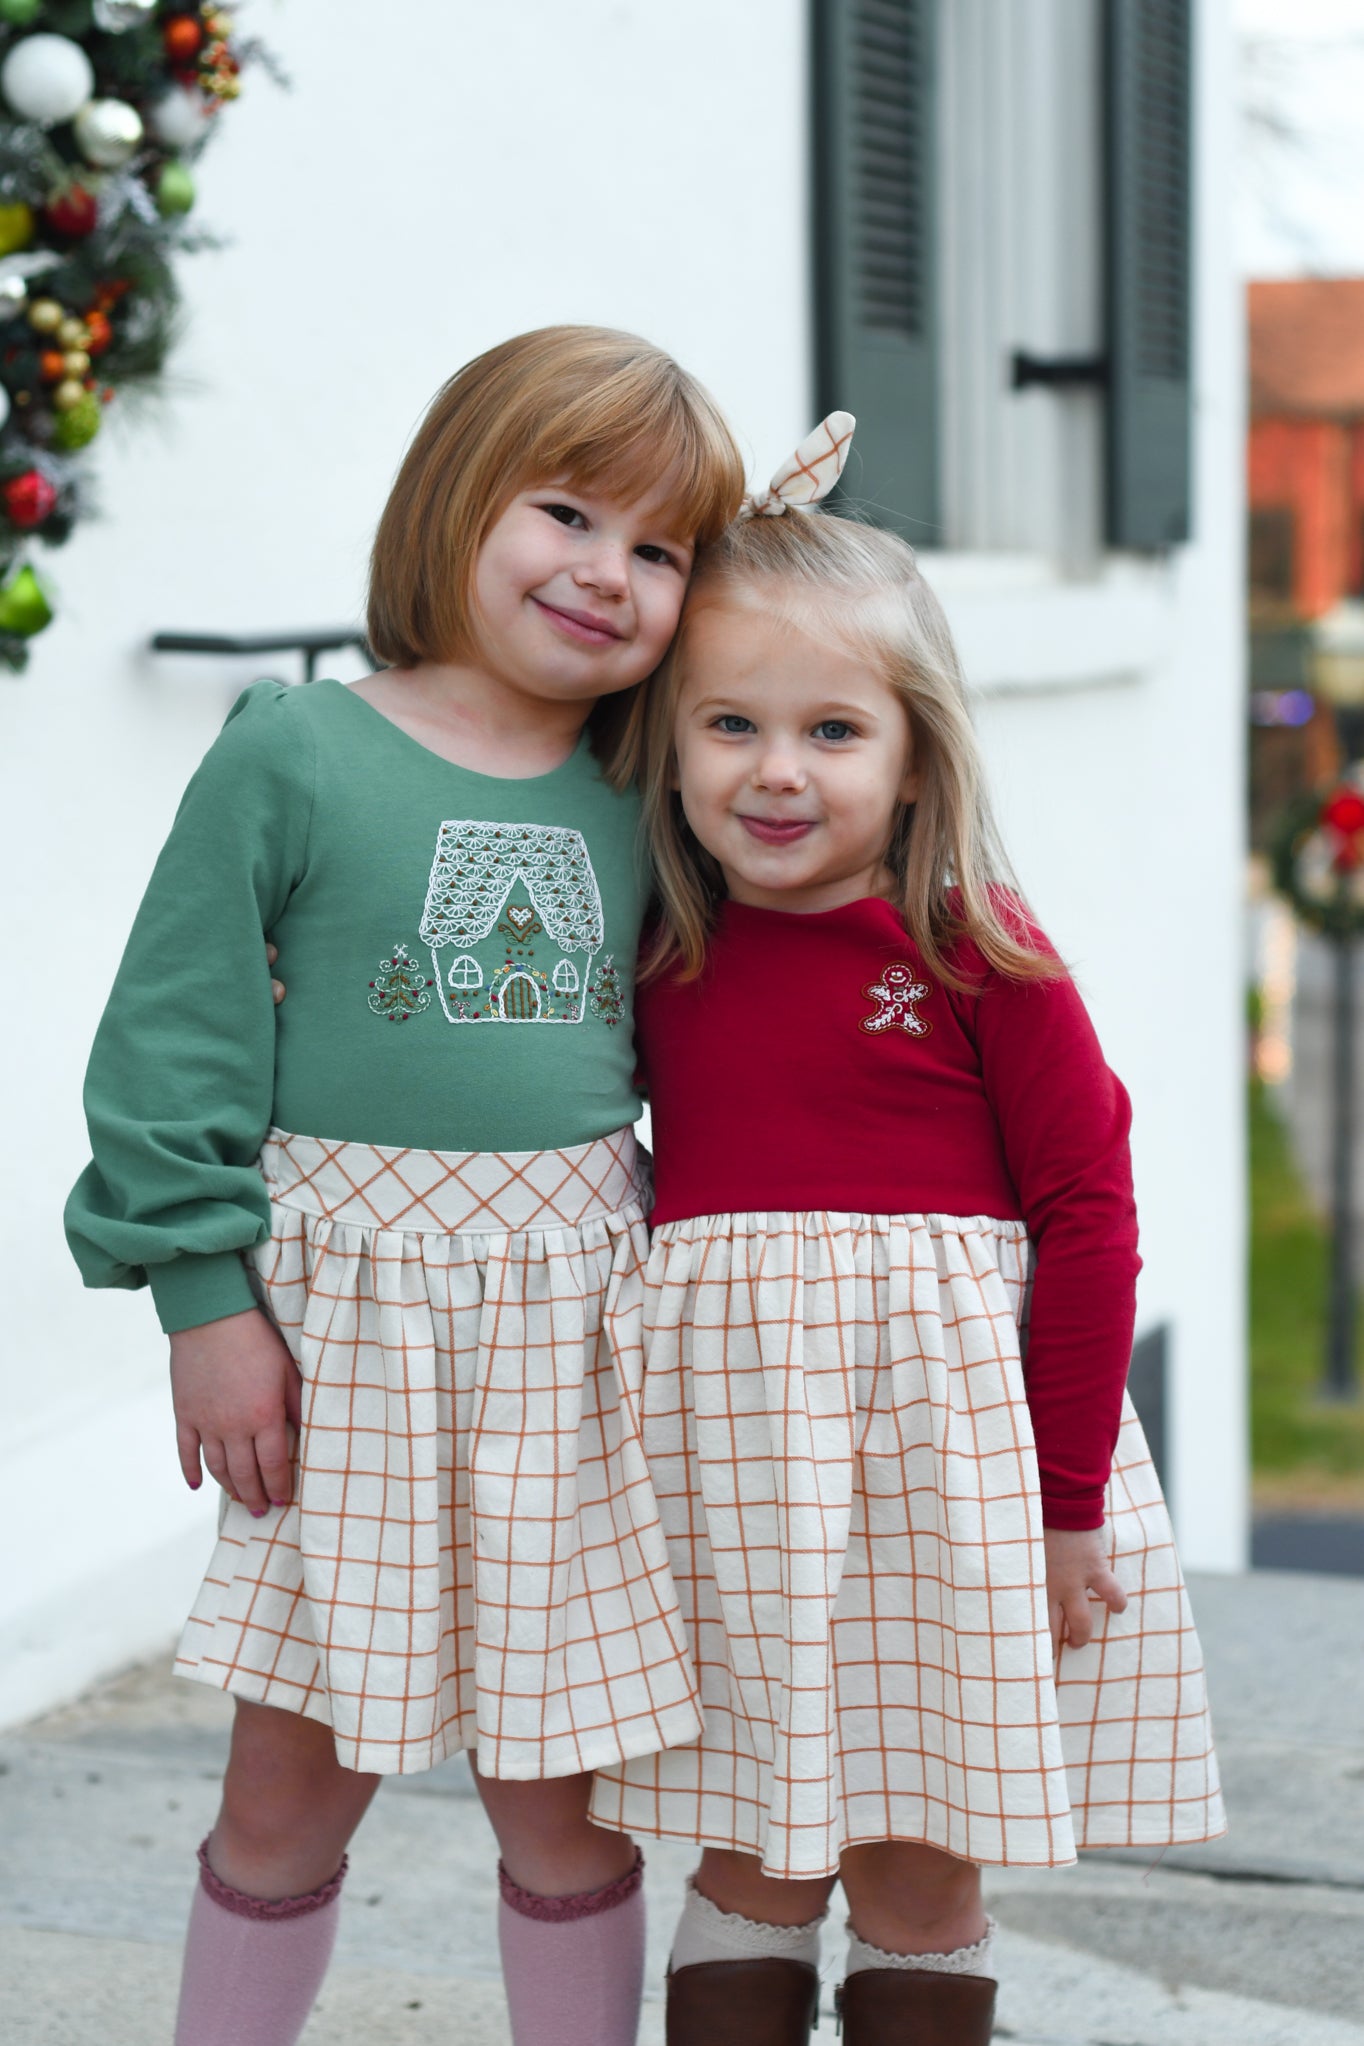
I love how hand embroidery can create a truly one of a kind piece and I’ve found myself adding some of Peony’s beautiful hand embroidery patterns to almost everything I sew. Today I’m sharing how I embroider on knit fabric like cotton Lycra and stretch velvet.
If it’s your first time embroidering on knit fabric, I would suggest starting with a slightly thicker, more stable knit like cotton Lycra. You’ll also want to choose a hoop large enough to fit your entire embroidery design in to avoid having to move the hoop around and stretch the fabric too much. Finally, choose a smaller needle with a smaller eye to avoid making too large holes in your fabric.
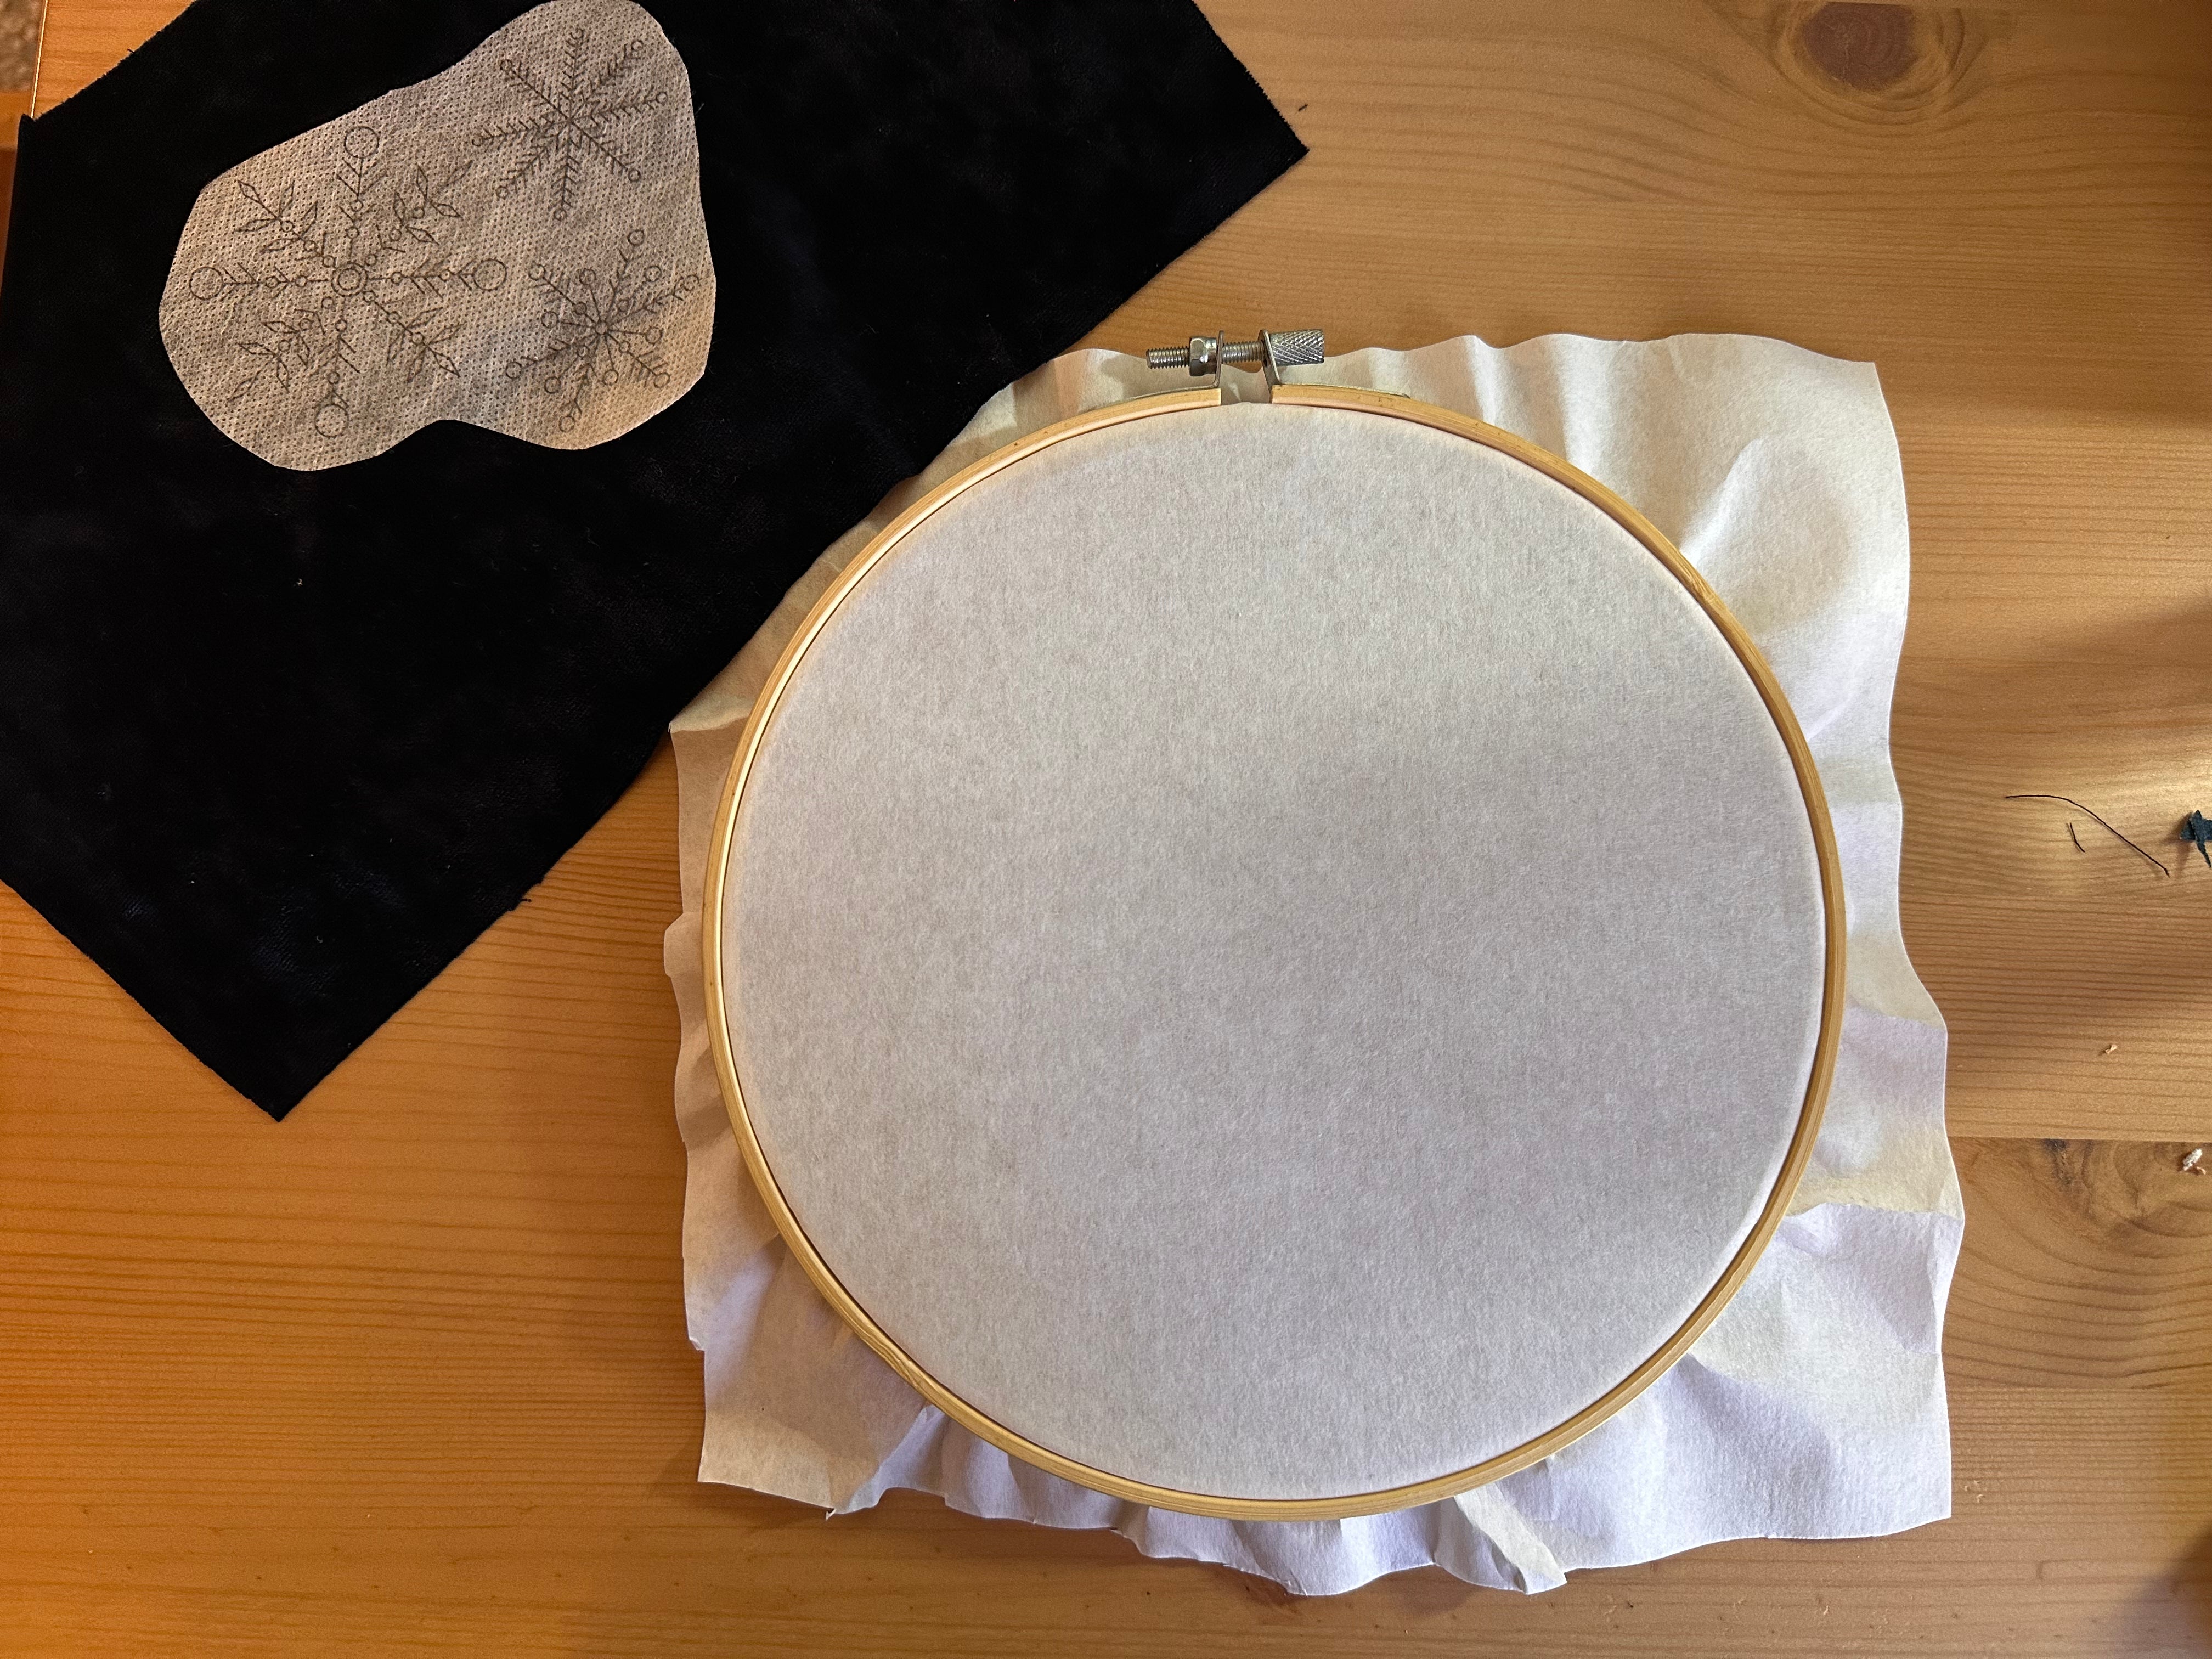
Once you decide on your pattern, transfer it to a large piece of stabilizer. I prefer water soluble stabilizer because it just washes away when you’re finished. You can either print directly onto the stabilizer from a printer or trace your pattern onto it in pen. Your stabilizer should be larger than your hoop to keep the fabric from stretching as you stitch.

As you stitch, do your best to be as accurate as you can. Knits aren’t very forgiving if you need to remove some stitches and can leave small holes behind.

After you’re finished stitching and have removed your stabilizer, you can gently press your fabric with a blast of steam. It can also help to apply a stretchy fusible covering like Cloud Cover Stitch on the back of your work to hold all your knots and threads in place. It provides a soft finish too if the garment you’re making isn’t lined.

To embroider on stretch velvet, we are going to prepare to hoop a little differently because the pressure of the hoop can crush the beautiful nap of velvet and leave a ring in your fabric.
First, cut a large piece of tear away stabilizer to fit your hoop. Again, you’ll want to choose a hoop large enough to fit your entire design.
Hoop the stabilizer ONLY. Apply your water soluble stabilizer with your pattern on it to the fabric.
Now lay your fabric OVER the hoop, centering your design. With your embroidery needle and thread, sew a running stitch around the outside of your design, attaching the fabric to the tear away stabilizer. Keep the running stitch close to the design to help keep your fabric from stretching too much.

Once you’re finished stitching simply cut the threads of your running stitch and gently tear away the stabilizer from the back of your fabric. Wash away the water soluble stabilizer from the front and you are all set!
Again, you may wish to apply a cover over the back of your stitching to hold your threads in place.

I hope these tips help give you the confidence to add embroidery to your knit makes!
Happy sewing!