Adding Trim to your Rosemary Dress Sleeves
Posted by Emily Rickell on
Hi everyone, I’m Emily (you can find me on Instagram at @emmysews1), and today I’m going to show you how to add lace or trim to the sleeves on Rosemary.
Adding trim to your sleeves be a fun (an addictive!) way to add some creative flair and something a little different to your outfit. If you're wanting to add trim to the sleeves of Rosemary, you will need to construct the sleeves in a slightly different order to the tutorial. But don't worry, below steps will help you along your way, and you will be adding trim to everything in no time! If you don't already have the Rosemary dress pattern you can purchase it here.
1. Start by preparing your sleeve pieces as per the pattern. Make sure you mark any pattern notches. Take your sleeve pieces and sew two rows of gathering stitches between the notches as per the Rosemary tutorial.

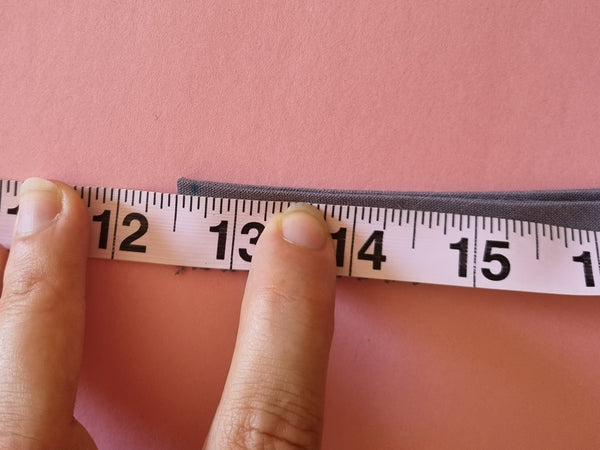
2. Next take your sleeve facing pieces and draw a line 1/8” (3mm) away from the short raw edge, ensuring you keep the correct angle of the pattern piece. Cut along the line you have drawn, shortening the facing by 1/8” (3mm) at each end.


3. Fold the top raw edge of one of the facing pieces 1/4” (6mm) wrong sides together to create a memory crease. Unfold.
Tip: Finish the top raw edge of the sleeve facing pieces with a serger/overlocker or zig zag stitch, being careful not to trim off any of the fabric whilst doing so. This will assist with folding the top edge
4. Take your chosen trim, and using the sleeve pattern piece as a guide, cut to the same length as the bottom edge of the sleeve, ensuring you are cutting your trim on the fold. Draw a line 1/8” (3mm) from each end of the trim and cut along the line (shortening the trim by 1/8” (3mm) at each end as you did with the facing piece.
Tip: If your trim is particularly thick, you may find you will need to take more than 1/8” (3mm) off the raw edge in order for it to fit comfortably inside the sleeve in step 8.

5. Fold the main sleeve right sides together vertically, pinning the raw edges in place. Sew to attach and finish the raw edge with a serger/overlocker or zig zag stitch.
Then with right sides together sew the short raw edge of the sleeve facing and trim pieces using a 1/2” (1.3cm) seam allowance. Trim the seam allowance on both to ¼” (6mm) to reduce bulk, pinking shears may be used.

6. With right sides together, matching your raw edges, and taking into account how much of your trim you would like to see on the finished sleeve (remembering to allow for the 1/2”(1.3cm) seam allowance), baste the trim to the sleeve with a 1/4" (6mm) seam allowance.


7. With right sides together, pin your sleeve facing to the sleeve, matching raw edges and sandwiching your trim in between, sew using a 1/2”(1.3cm) seam allowance.

8. Trim the seam allowance to 1/4” (6mm), pinking shears may be used.

9. Pull the sleeve facing down away from the sleeve. Press the seam allowance towards the sleeve facing, being careful not to accidentally remove the memory crease created earlier, and ensuring that the trim stays pressed towards the main sleeve. Understitch the seam to the sleeve facing using a 1/8” (3mm) seam allowance.

10. Refold the memory crease and fold the sleeve facing towards the inside of the sleeve. Press and pin in place. Edgestitch the folded edge of the sleeve facing to the sleeve, remembering to leave a 1”(2.5cm) opening. From this step on, you can follow the instructions of the Rosemary tutorial to complete your sleeves and attach to your bodice.


Happy sewing and have fun playing around with adding different trims and laces to your next garment!
