Adding a tulle skirt to the Ivy Dress Pattern
Posted by Jodie Pascoe on
Ivy is the perfect base pattern to experiment with different fabrics and create something spectacular! My passion is making big poufy dresses, so this was the perfect excuse to make an Ivy using tulle in the skirt.
You will need the following items:
- A bolt of 54”(1.37m) wide soft tulle (extra tulle may be required for larger sizes)
- Invisible thread (100% nylon thread) or matching cotton
- Constructed Ivy bodice
- Lining fabric that matches the tulle
- A fine sewing needle such as a size 60 or a microtex needle
- Wonder clips/pins


Step 1 – Constructing the Bodice
Sew the Ivy bodice together following the steps on pages 14 through to page 37 of the Ivy tutorial.

Step 2 – Constructing the Lining
For best results, ensure the lining colour matches the tulle as closely as possible.
Reduce the width of the Ivy skirt measurements (found in the cutting chart) by approximately 5” (13CM). Cut 2 using this measurement for the lining pieces.
Reduce the width of the Ivy skirt measurements (found in the cutting chart) by approximately 5” (13CM). Cut 2 using this measurement for the lining pieces.
Follow the steps in the tutorial for completing the skirt, including hemming on page 38.
Measure down 1 3/4” (4.5cm) from the top raw edge of the lining and draw a line around the circumference of the skirt using an erasable marker or sewing chalk. Once the line is complete, measure down a further 1” (2.5cm) and draw another line parallel to the first line. The bottom and middle layers of tulle will be sewn to these guidelines.

Step 3 - Sewing the Tulle to the Skirt Lining
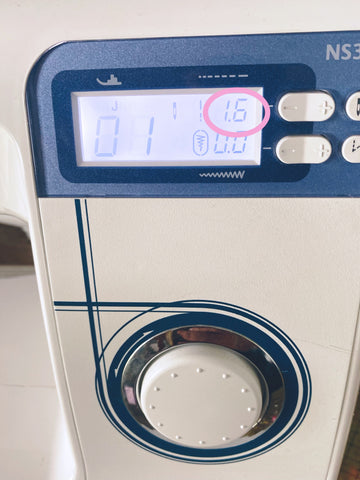
Change the needle out for a new, finer needle and reduce the stitch length. I generally sew at a stitch length of 2.5, however for tulle I will reduce this to 1.6.

I prefer to use Nylon thread when sewing tulle however normal cotton is also fine. The next step involves sewing two pieces of tulle together at the side seams using a French seam.
Sew one side seam using a 1/4” (6mm) seam allowance. DO NOT IRON THE TULLE. Repeat for the other side. Turn the tulle skirt out the other way and run your fingers along the seam, pressing the seam flat. Sew another line of stitching using a 1/2” (1.3cm) seam allowance, which then encloses the raw edge. Repeat for other side.
Repeat for each of the tulle layers. There will be 3 layers in total.


Repeat for each of the tulle layers. There will be 3 layers in total.
Sew two rows of gathering stitches along the top of each tulle skirt. I know you may want to save time by only doing one row but trust me, this will save you time in the long run! Sewing two rows keeps the tulle neat and makes it much easier to attach to the skirt.
Gather the tulle to the width of the skirt lining.

Starting with the bottom layer, place the gathered tulle over the lining so that wrong side is facing up (lining and tulle will be right sides together). The bottom edge of the tulle should be facing in the opposite direction to the hem of the lining. The gathered edge of the tulle should meet the bottom line you previously made onto the lining.

Pin in place, ensuring that the side seams are in line with each other. (Tip: Slide a large quilting ruler in between the front and back lining, this will prevent you from accidentally catching the other side while pinning.)


Sew the tulle layer to the skirt lining using 2.5 stitch length and a 1/2’’ (1.3cm) seam allowance. Once completed flip the layer down and repeat for middle tulle layer.

Locate the lining/tulle piece and run two gathering stitches along the top.

If you are serging/overlocking the finished bodice seam, disregard the following instruction highlighted below and ensure the bodice and lining are basted together, ready to join the tulle top layer to the bodice.
* I prefer to fully enclose the bodice so the tulle wont irritate the childs tummy! For this method, ensure the lining is folded out of the way for the next few steps.

Gather and clip the lining to the main bodice right sides together. Sew using a 1/2” (1.3cm) seam allowance and set aside ensuring that you don’t catch any of the top layer of tulle into the seam.

Sew the lining to the bodice using a 1/2” (1.3cm) seam allowance. Trim away the tulle bulk only, ensuring that you do not cut the skirt lining or bodice seam allowance.

If you chose to serge/overlock the seam, do so now and topstitch. Otherwise hand stitch the lining down using a ladder stitch. Turn the dress out the right way.

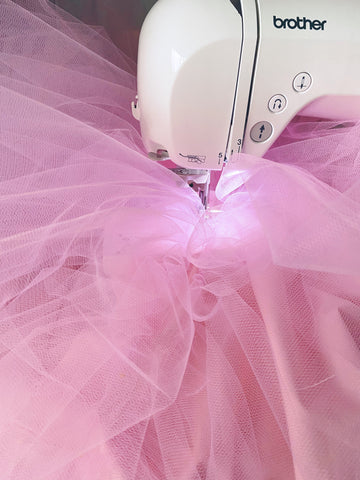
Admire the poufyness!! One incredible tulle dress!
